Installing outdoor lighting with remote control offers practical and efficient management of the lighting in your garden, terrace or driveway. This type of solution allows you to control the switching on and off of your lights remotely, ensuring daily comfort.
Whether you choose a solar lamp, a ceiling light, a floor lamp or a floodlight, the remote control allows you to control your devices without having to touch traditional switches.
You can opt for a model connected to a transmitter or using technologies such as Bluetooth or Wi-Fi. This guide explains how to carry out this installation simply and efficiently.
1. Why install outdoor lighting with remote control?
Comfort and ease of use
Installing outdoor lighting with remote control allows you to control your lamps and other devices from inside your home or directly from your garden.
You can control the switching on and off of your lights using a remote control or even from your smartphone using a dedicated application.
This solution is ideal for avoiding having to move around, especially in humid environments or during winter, and for meeting the needs of practical and adjustable lighting.
Security and accessibility
Outdoor lighting with remote control improves security by effectively illuminating driveways, areas near your home or trees.
Additionally, a wireless lighting system can be particularly useful for people with reduced mobility, as it allows them to control the lights without having to touch traditional switches or sockets.
Connected models can also be programmed to turn on and off automatically based on your daily needs.
Energy optimization
Opting for lighting solutions with remote control also allows you to save energy, particularly by using solar lamps or low-consumption LED bulbs.
By pairing your lighting with a controller or app, you can schedule lights to turn off at specific times, preventing forgetfulness.
Some devices even offer a lighting power adjustment function, allowing you to further reduce electricity consumption .
2. Types of outdoor lighting compatible with a remote control
The different types of lighting fixtures
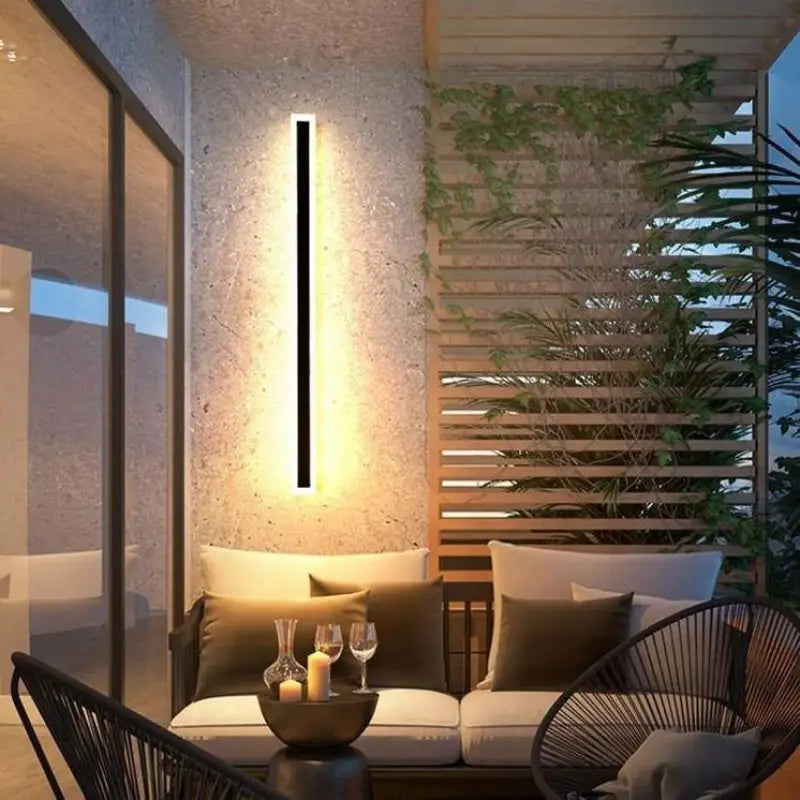
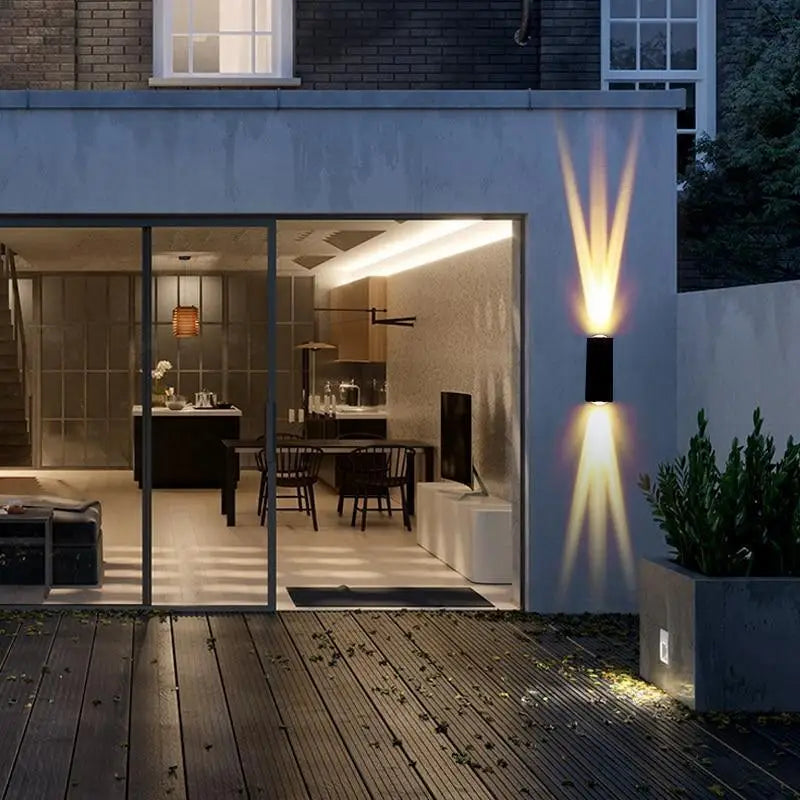
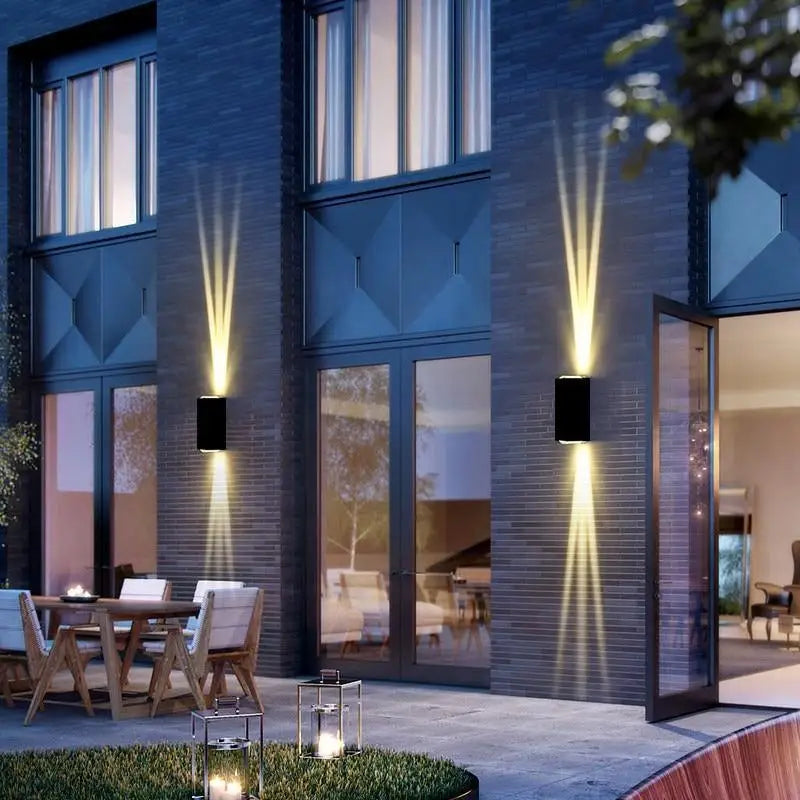
For outdoor lighting with remote control , you have the choice between different types of lighting: wall lights , spotlights, LED strips, floor lamps, or even ceiling lights. It is important to choose a model adapted to your space and your needs.
Make sure the luminaires are compatible with a remote control device or connected module, which will allow optimal operation of the installation.
Wired vs. Wireless Lighting
If you choose to install outdoor lighting , you have two main options: wired or wireless.
Wired lamps require an electrical connection with conductive cables (phase, neutral and earth), while wireless models operate with rechargeable batteries or are powered by solar panels.
The choice depends on your preferences, the environment where the installation will take place, as well as the ease of installation. Wireless has the advantage of being more flexible to install, especially near a tree or in an area far from the current.
3. Steps to install outdoor lighting with remote control
3.1. Prepare the necessary materials
To carry out a correct installation, it is crucial to have the right equipment: lights, receivers, remote control, electrical cables, junction boxes, and safety tools.
Depending on the type of lighting chosen (ceiling light, floor lamp, spotlight), check that you have phase (red, black or brown), neutral (blue) and earth (green/yellow) cables.
If necessary, call an electrician to help you with this step. Checklist: Also plan for control modules and transmitters that are compatible with your devices.
3.2. Choosing the ideal location
The location of your lights plays a vital role in the effectiveness of your lighting. Choose strategic areas in the garden, such as near paths or trees, and make sure that the installation will not be exposed to direct moisture or bad weather.
If you opt for a wireless model, taking into account the signal range between the transmitter and the lamps is essential to ensure the proper functioning of the device. Remember to check the voltage required for the proper functioning of each lamp.
3.3. Install the electrical circuit
Before starting work, turn off the power at the main circuit breaker. Install the cables following the color codes (red for phase, blue for neutral, and green/yellow for earth) and connect them correctly in the junction box.
Make sure the connections are watertight to avoid any problems related to humidity. The connection must be carried out carefully, respecting the safety standards. If you are not confident in your skills, call a professional electrician to ensure a safe installation.
3.4. Configure the remote control and lights
After installing and connecting the lights, it’s time to set up your remote control or controller. Commercially available Bluetooth or Wi-Fi modules allow you to remotely control the lights via a smartphone or remote control.
Pair each light fixture with the receiver module , then test it to make sure everything is working properly. Some systems will even let you adjust the light output or set time slots for automatic on and off.
4. Improve your outdoor lighting with home automation solutions
Choosing a complete home automation system
If you want to go further, home automation solutions allow you to centralize the control of your lighting and other devices such as sensors or transmitters.
With a mobile app, you can control your lamps and connected devices from anywhere, whether you're at home or on the go.
The major brands on the market offer modular systems that easily adapt to your existing installation.
Setting up light scenes
By using a home automation system , you can create custom light scenes for each area of your garden.
For example, a scene for summer evenings with gradual switching on of the lamps, or another for safety lighting with spotlights.
You can configure these scenes via an app, and use control modules to adjust the power or desired lighting effect.
Voice control and connected assistants
Modern outdoor lighting solutions can also be controlled by voice using assistants like Google Home or Amazon Alexa.
These devices work in sync with your home automation system , allowing instant switching on or off of lights simply by giving a voice command. Many products available on the market allow this integration.
5. Tips for maintaining and caring for your outdoor lighting
Protecting light fixtures from the elements
Outdoor lighting fixtures are exposed to a variety of weather conditions, such as humidity, rain or high heat. To ensure their longevity, make sure all connections are watertight and that the lighting housings are well protected.
Regular cleaning of your lamps is essential to maintain their efficiency. Use suitable products to avoid damaging the bulbs or electronic modules.
Checking and updating home automation systems
Finally, remember to regularly check that your home automation systems are working properly. Update the software on the controllers or transmitters to improve the performance and security of your installation.
Perform tests to ensure each module functions as expected and responds to commands.
Conclusion
Installing outdoor lighting with remote control is an ideal solution to improve the comfort, security, and aesthetics of your garden.
Whether you opt for solar lights or wired lighting, a home automation system or a classic remote control, follow the steps described above to successfully install your system.
Remember to call an electrician if necessary and to regularly check that your appliances are working properly to extend their lifespan .
Frequently Asked Questions
1. How to install outdoor lighting with remote control?
Installing outdoor lighting with remote control requires following a precise diagram. To begin, turn off the power via the circuit breaker to secure the area.
Next, choose the ideal location in your garden or on your terrace, taking into account access to connection points and the range of the remote control.
Connect the cables following the color code principle: phase, neutral, earth. Once the lights are fixed (spotlights, garlands, wall lights), you can configure the remote control to turn your lights on and off remotely.
Thanks to well-thought-out programming, you can effortlessly manage the lighting in your garden and enjoy optimal comfort.
2. What types of outdoor lighting are compatible with a remote control?
Compatible lighting types include spotlights, string lights, wall lights, and floodlights. Each of these devices works with remote controls or connected systems using Wi-Fi or Bluetooth waves.
For example, LED string lights or spotlights can be automated to turn on at night and turn off at dawn. Some lights are equipped with rechargeable batteries, which eliminates the need for wired connections.
Lighting automation also allows you to benefit from better energy management, which results in savings on electricity consumption . These devices also offer a guarantee of sustainability.
3. Which module should I choose for outdoor lighting with remote control?
The choice of module for outdoor lighting with remote control depends on the type of lighting (spotlights, garlands, projectors), the required voltage and the operating mode (wired or wireless).
You must choose a module that is compatible with the type of wave of your system (such as Wi-Fi or radio frequency). Some modules offer automation options, allowing you to program the lighting according to the time or the outside brightness.
In general, it is sufficient to have a module with an integrated receiver to efficiently manage several luminaires . Be sure to check the warranty and compatibility with your electrical installation .
4. How to connect outdoor lighting with remote control?
To connect outdoor lighting with remote control , start by choosing the right location for each light fixture, taking into account the range of the remote control and access to the power supply .
Follow the connection diagram, connecting the phase, neutral and earth cables according to the color codes. Ensure that the luminaires are properly secured to prevent any water infiltration.
Next, connect the receiver module that allows your lights to work with the remote control. This device allows you to efficiently manage the switching on and off of lights remotely.
5. What lighting power should I choose for a garden with remote control?
The lighting power for a garden depends on the size of the area to be illuminated and the use of the lights (functional or decorative). In general, spotlights or LED garlands of 500 to 1000 lumens are sufficient for general lighting.
If you want to enjoy more subtle or decorative lighting, bulbs of 200 to 500 lumens will suffice. For energy savings, opt for LED bulbs with a programming module that allows you to set automatic on and off times.
6. Can you use a remote control with solar outdoor lights?
Yes, it is possible to use a remote control with solar outdoor lighting. Some models of solar garlands, spotlights or lamps are equipped with receivers to remotely control their switching on and off.
These devices are self-contained, solar powered and do not require a wired connection. With automation options, you can enjoy outdoor lighting without worrying about frequent battery replacement.
Additionally, some models integrate Wi-Fi systems for management via smartphone.
7. How to set up a remote control for outdoor lighting?
To set up a remote control for outdoor lighting , simply follow the manufacturer's instructions.
After installing the receiver module and connecting the lights (spotlights, garlands or wall lights), put the remote control in contact with the receiver by pressing the synchronization button.
Then you can schedule the lights to turn on and off as needed. For connected systems, you can use a mobile app via Wi-Fi for even simpler and more intuitive control.
8. Do I need to call an electrician to install outdoor lighting with remote control?
Calling an electrician is recommended if you are not familiar with electrical connections, especially for outdoor installations.
An electrician will be able to ensure that the light fixtures are properly secured, that the connection follows safety standards (particularly for voltage and ground wires), and that the equipment is working correctly.
This is especially important for complex installations, such as integrating a Wi-Fi system or automation. This way, you can enjoy a secure and durable installation, with the guarantee that your outdoor lighting will work without any problems.
9. What are the advantages of outdoor lighting with remote control?
The benefits of outdoor lighting with remote control are multiple. It allows you to manage your lighting remotely , turn lights on or off effortlessly, and enjoy automatic programming to save energy.
With the ability to control multiple lights (garlands, spotlights, wall lights) via a remote control or a Wi-Fi application, you gain flexibility.
Additionally, remote-controlled systems are often compatible with automation devices, which optimizes lighting according to needs and reduces energy consumption.
10. How to maintain outdoor lighting with remote control?
Maintaining outdoor lighting with remote control mainly consists of regularly checking that the remote control module and the lights are working properly.
Clean spotlights, string lights, and other equipment to prevent dust build-up, and make sure the wiring and fasteners are properly sealed to resist moisture.
If your system has a battery, consider performing regular replacements as needed. Additionally, check your light fixture programming and update Wi-Fi or remote control systems to ensure optimal energy savings and long battery life .


Leave a comment